


Low-light photography
How to shoot street photography in low-light conditions.

As we approach the autumn and winter months, the one thing we can be sure of is the reduction in the amount of good light that will be available for taking pictures. Whether you’re an intrepid landscapist or a hardcore urban photographer, the fact is, you are going to have to adjust to the shorter days and rethink your picture taking process to continue shooting during the daytime.
Night photography, of which I am a big proponent, is one way of tackling the issue, at least when doing street photography. However, adapting to the conditions and exploring how you can use low-light during the daytime is another way to continue your photography thoughout the season and beyond. After all, depending where you are in the world, low-light is something many of us have to live with all year round.
There are a few techniques that you can employ to help you capture great images in these conditions by maximising the available light and making it work for you. If we can change our mindset about shooting on gloomy days, then we are effectively increasing the amount of time and space we have in which to photograph.
The optimal time for shooting low-light pictures is during the early morning and later part of the afternoon. During these hours the light is much softer and more flattering than the middle part of the day when the light, even on gloomy days, will lack character. Also, during the autumn and winter months, the change in the light will tend to be more gradual, meaning that you can often photograph for longer during these periods. Here are some key points that will get you thinking about what to look for in low-light and how to make the best of it.
Shoot in black and white
In my book, Fine Art Street Photography, I talk about why I generally choose to shoot in black and white and the advantages to be gained from it. From deep blacks to bright whites and all of the many shades in between, the monochrome palette makes us look at and consider our world differently. It has an emotional effect very different to that of colour. While I think that bright-light conditions are great for dramatic black and white street pictures, adopting black and white for darker days is a good approach too.
A scene with washed out colours will generally lack presence, but by thinking in black and white and examining where the tonal range is, you can start to judge where your composition's highlights and main focus will be - those uninspiring dreary colours can become smoothly blending shades of grey alive with graphic possibilities.
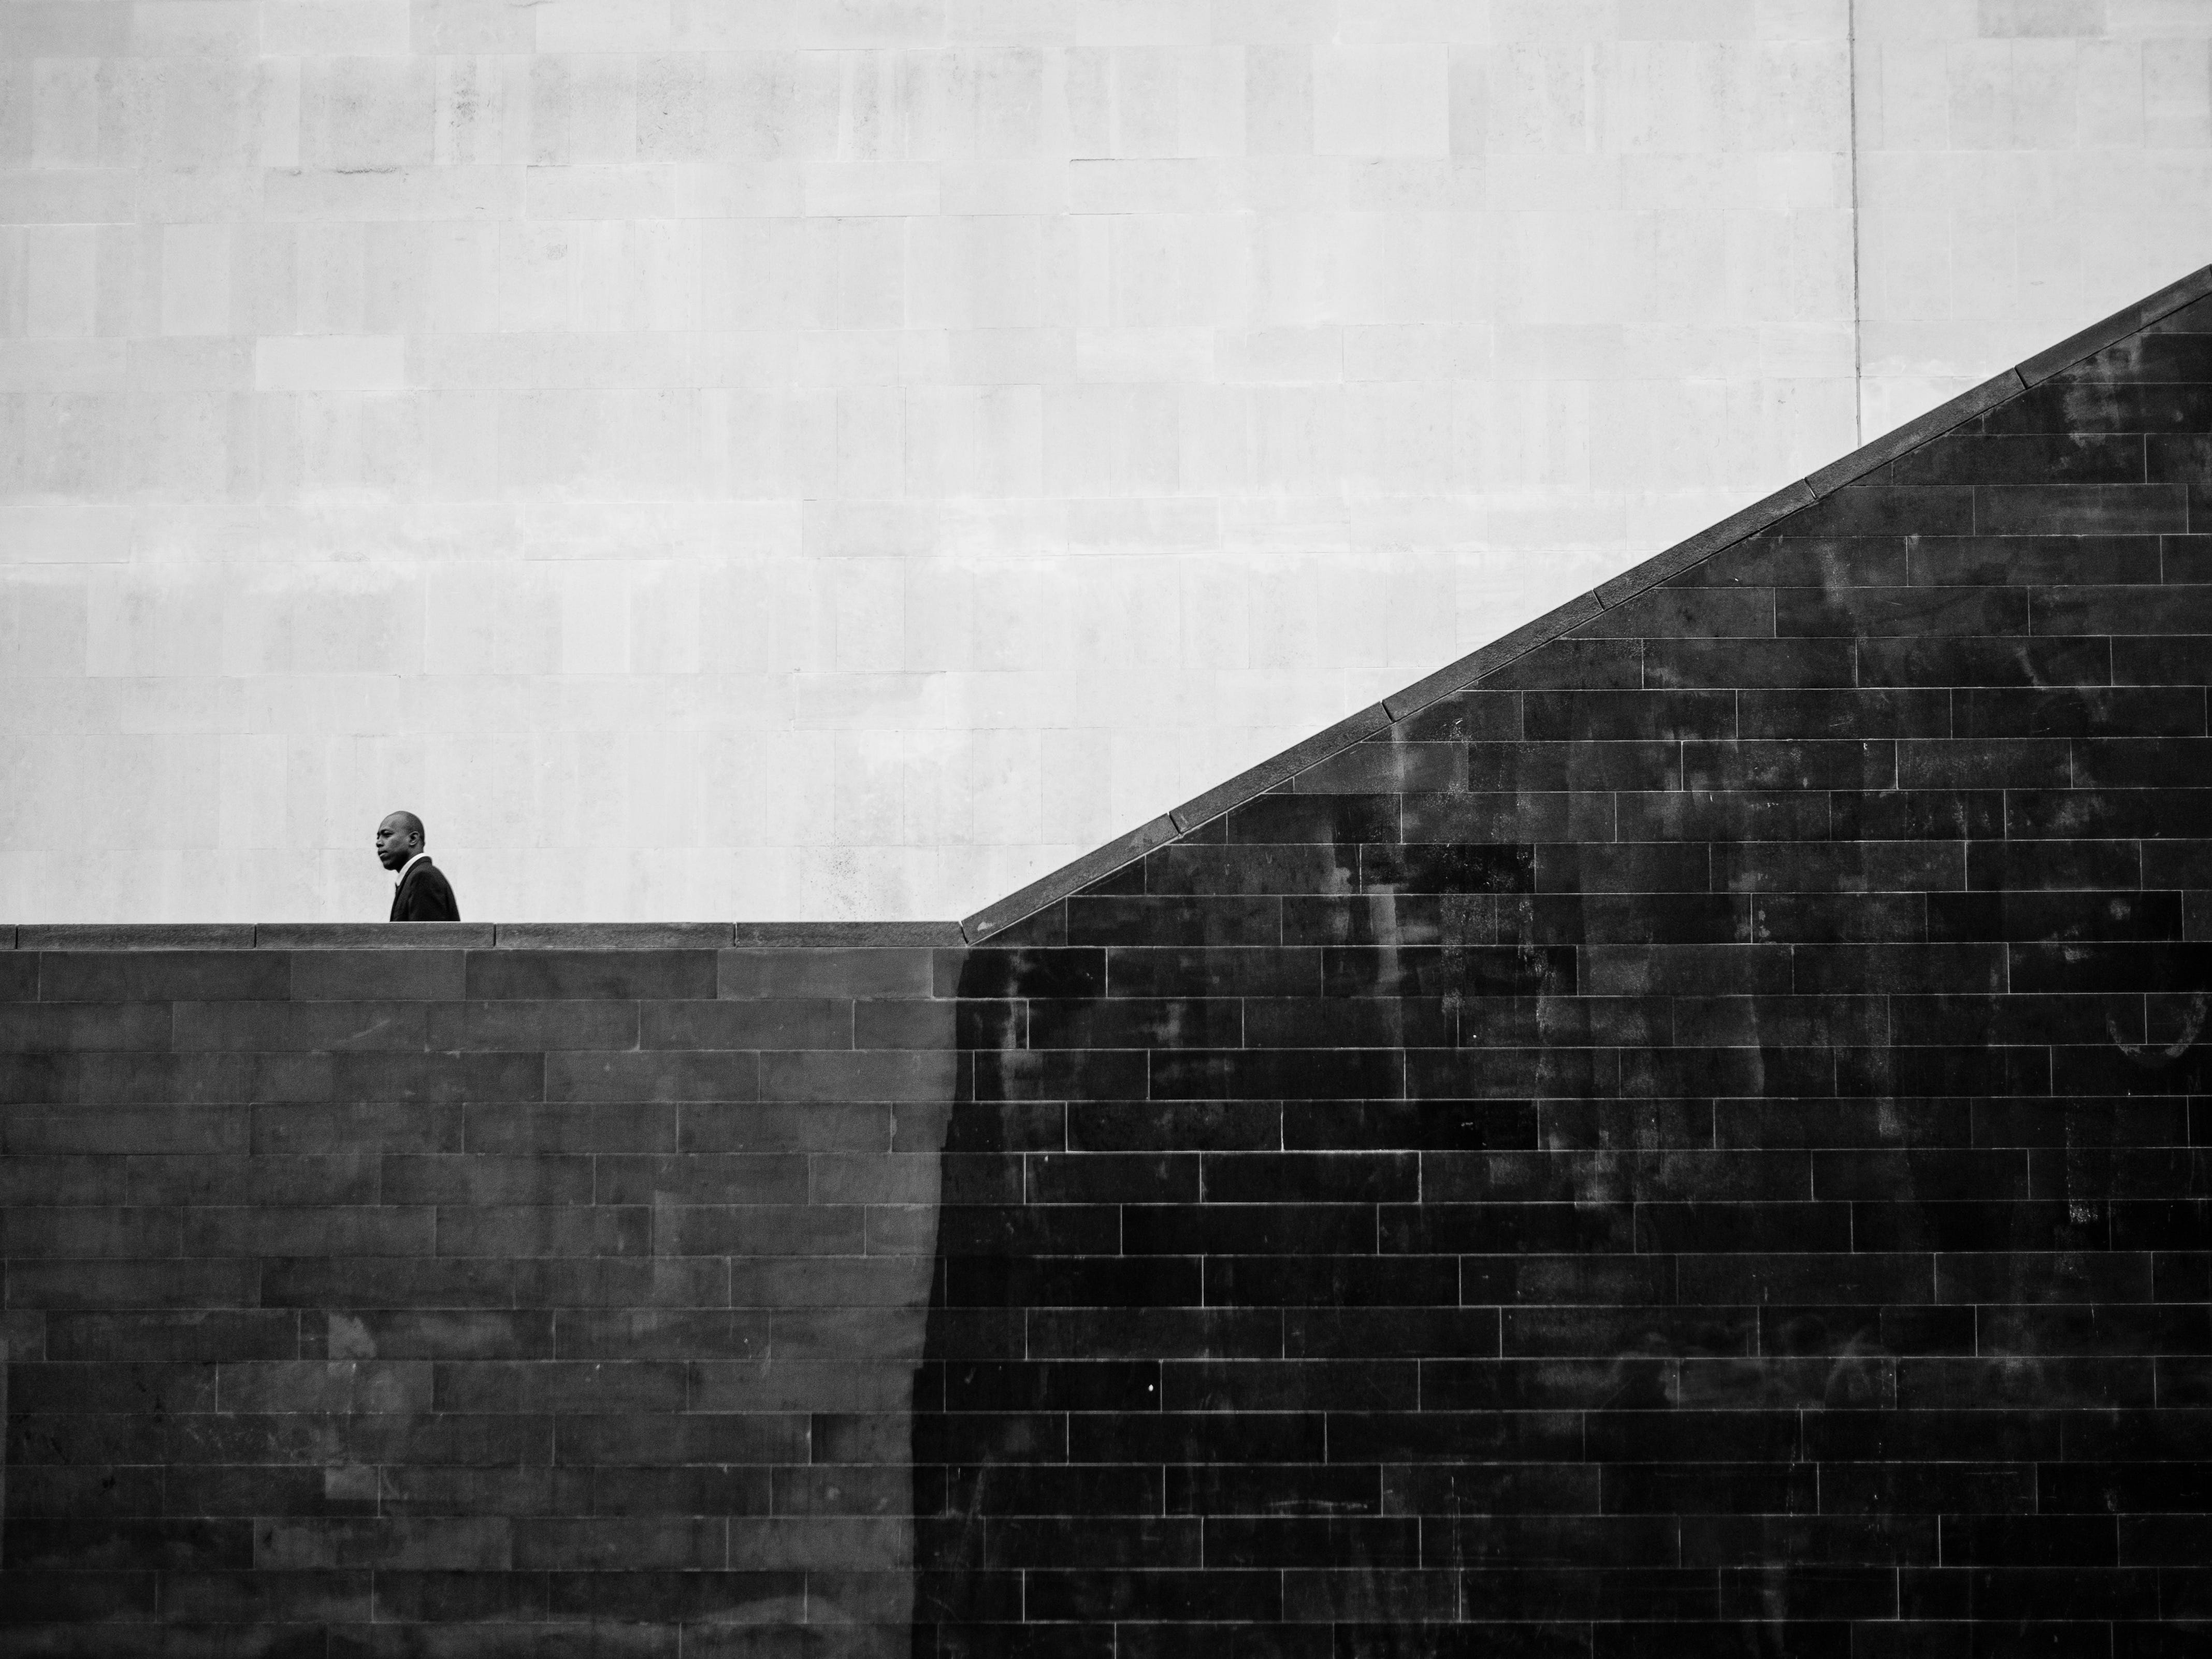
There was very little colour in the scene in the picture above, it was just flat and uninteresting and no part of the image really stood out. By converting to black and white, it took on a new identity and added some necessary contrast. Built around the three main tones of the monochrome scale - white, mid grey and black, the image’s tonal range is like a ‘colour’ wheel. The passer-by is a point of focus and brings scale and perspective to the image.
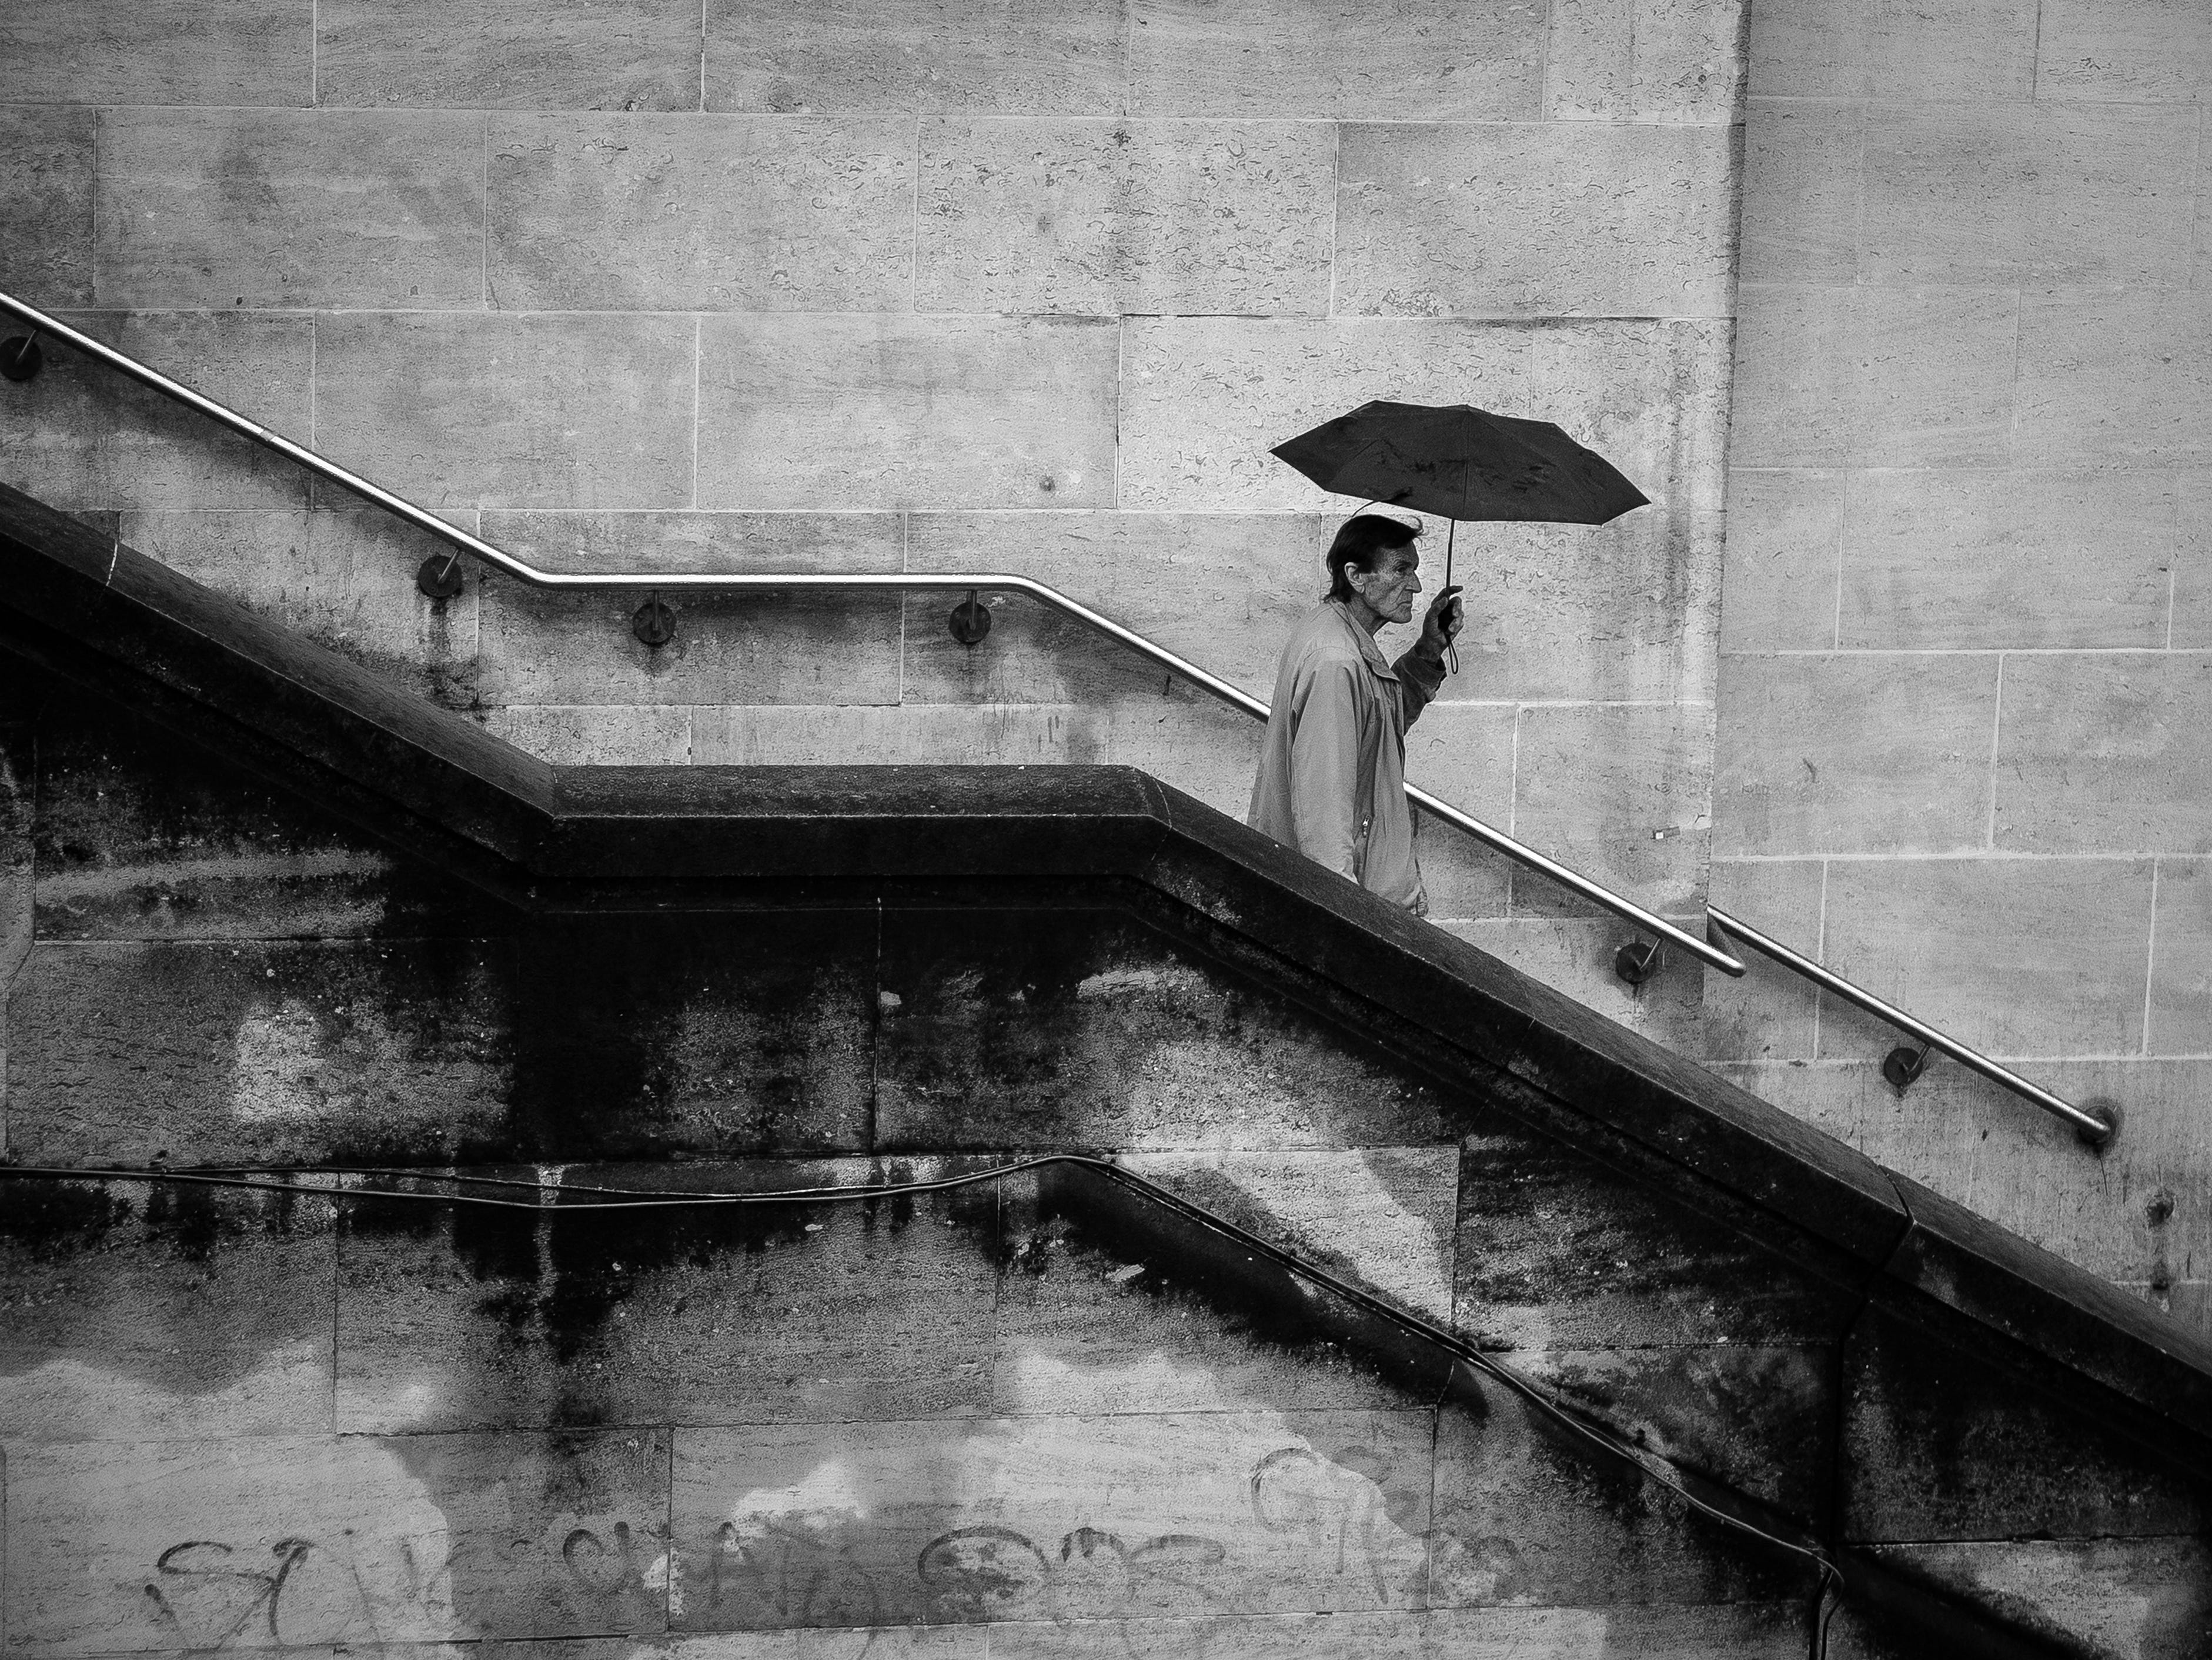
This time, shooting down onto a stairway, there is a wide tonal range from pure white to deep black and each tone adds an element of interest that helps to highlight some detail such as in the stonework, the man's face and raincoat. As there is a marked difference right across the tonal range, each area of the image has a presence and an energy to it.
Look for contrasting tones
Another way to bring a scene to life in low-light or on a dull day is by using contrast found naturally in a scene. By maximising the lightest and darkest parts of your composition you will create standout areas and focal points that will help establish the tones inbetween. When shooting on grey days, I always keep a lookout for bright whites as it’s often a starting point for a picture.
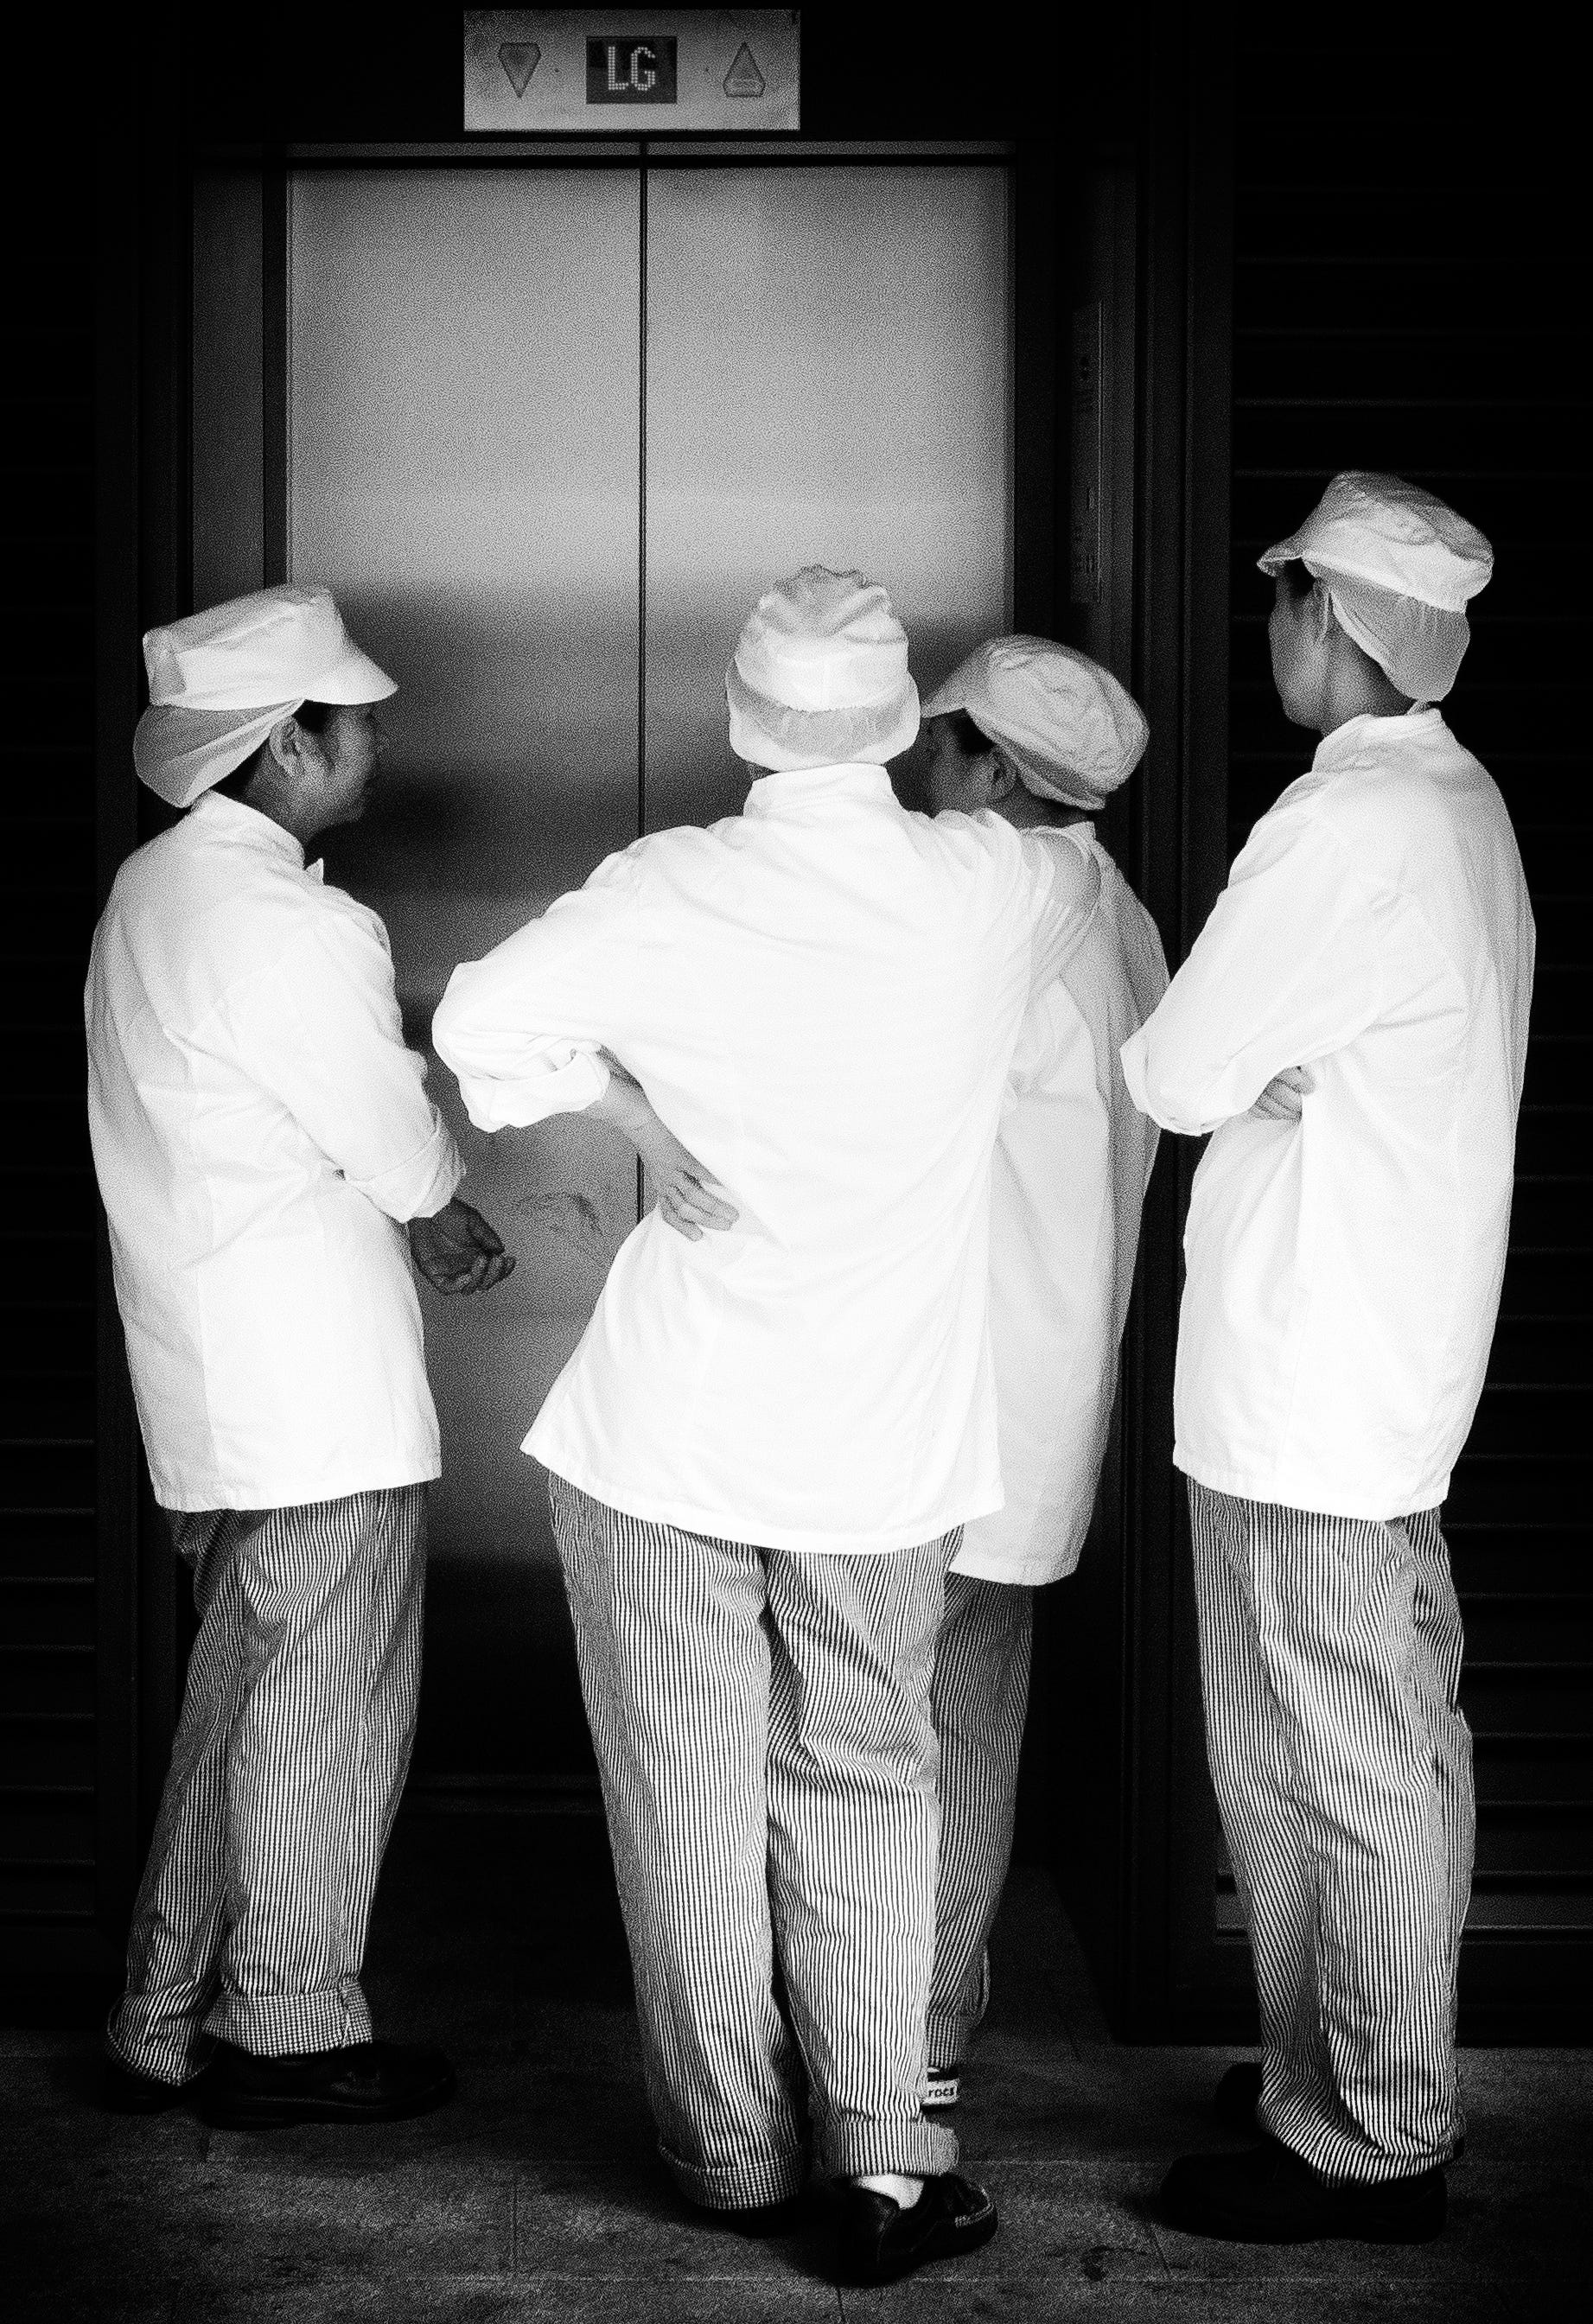
This picture is an example of finding brightness and contrast in more unusual places. The light was quite soft and these kitchen workers had just finished a cigarette break and were heading back inside. I wanted to capture them but they weren't gathered in an interesting way when I first encountered them, so I hung around to see if I could capture them elsewhere. They had to wait a few moments for the lift so it gave me an opportunity to frame and capture them in a confined area where they stood together. It’s always worth investing a bit of time to see how something might play out if you think you can get a pictue from it.
Shoot from dark to light
Another way to enhance the contrast in your images is to shoot from within a darker area out to where the light is coming from. Typical examples would be from under a bridge or walkway, or from inside a shop or building.
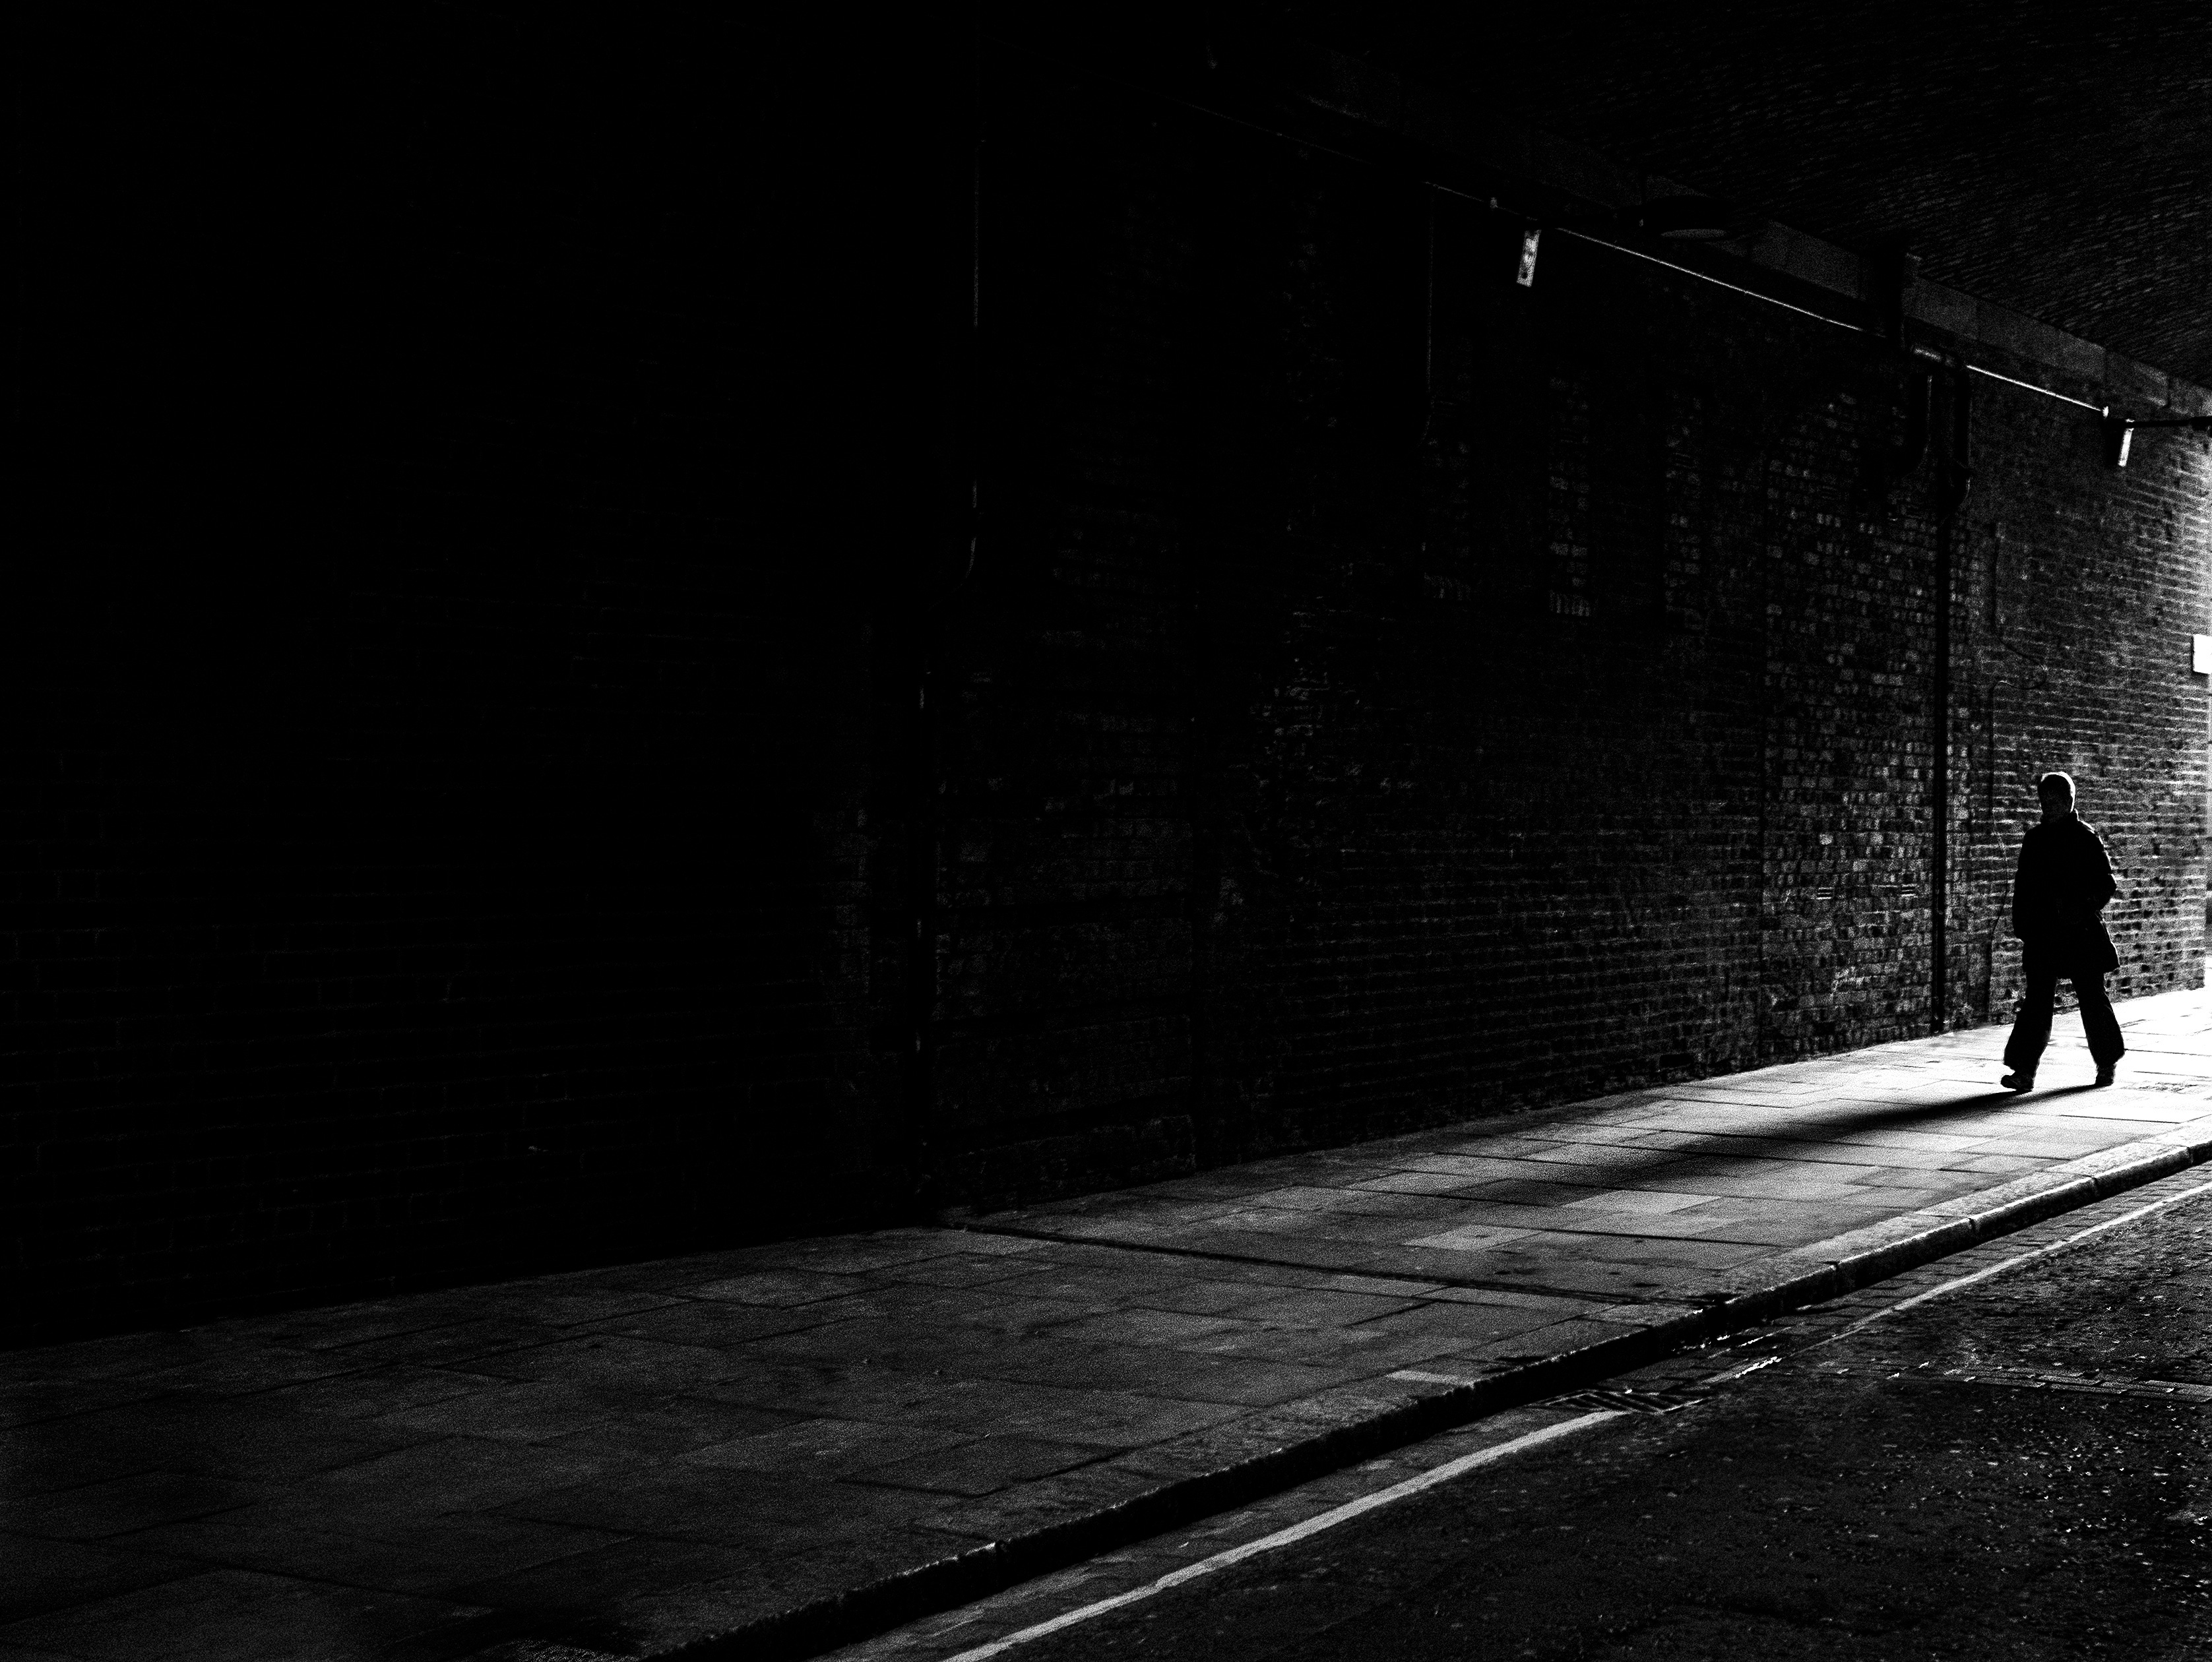
In this image above, even though it was a dull day, because I was shooting from a dark area under a bridge, the light coming in appears much stronger than it actually was. The light is quite soft but it still highlights the detail in the road surface and picks out the brickwork. I exposed for the brightest area and went for the smallest aperture I could get whilst getting a shutter speed high enough to freeze the moving figure. Again, the technique has resulted in the creation of some contrast which adds more vibrance to the image.
Overcast conditions don't always mean the light is going to be dull and unrewarding. Even though the shadows may be soft, the lighter ground areas can provide contrast as well as some interest.
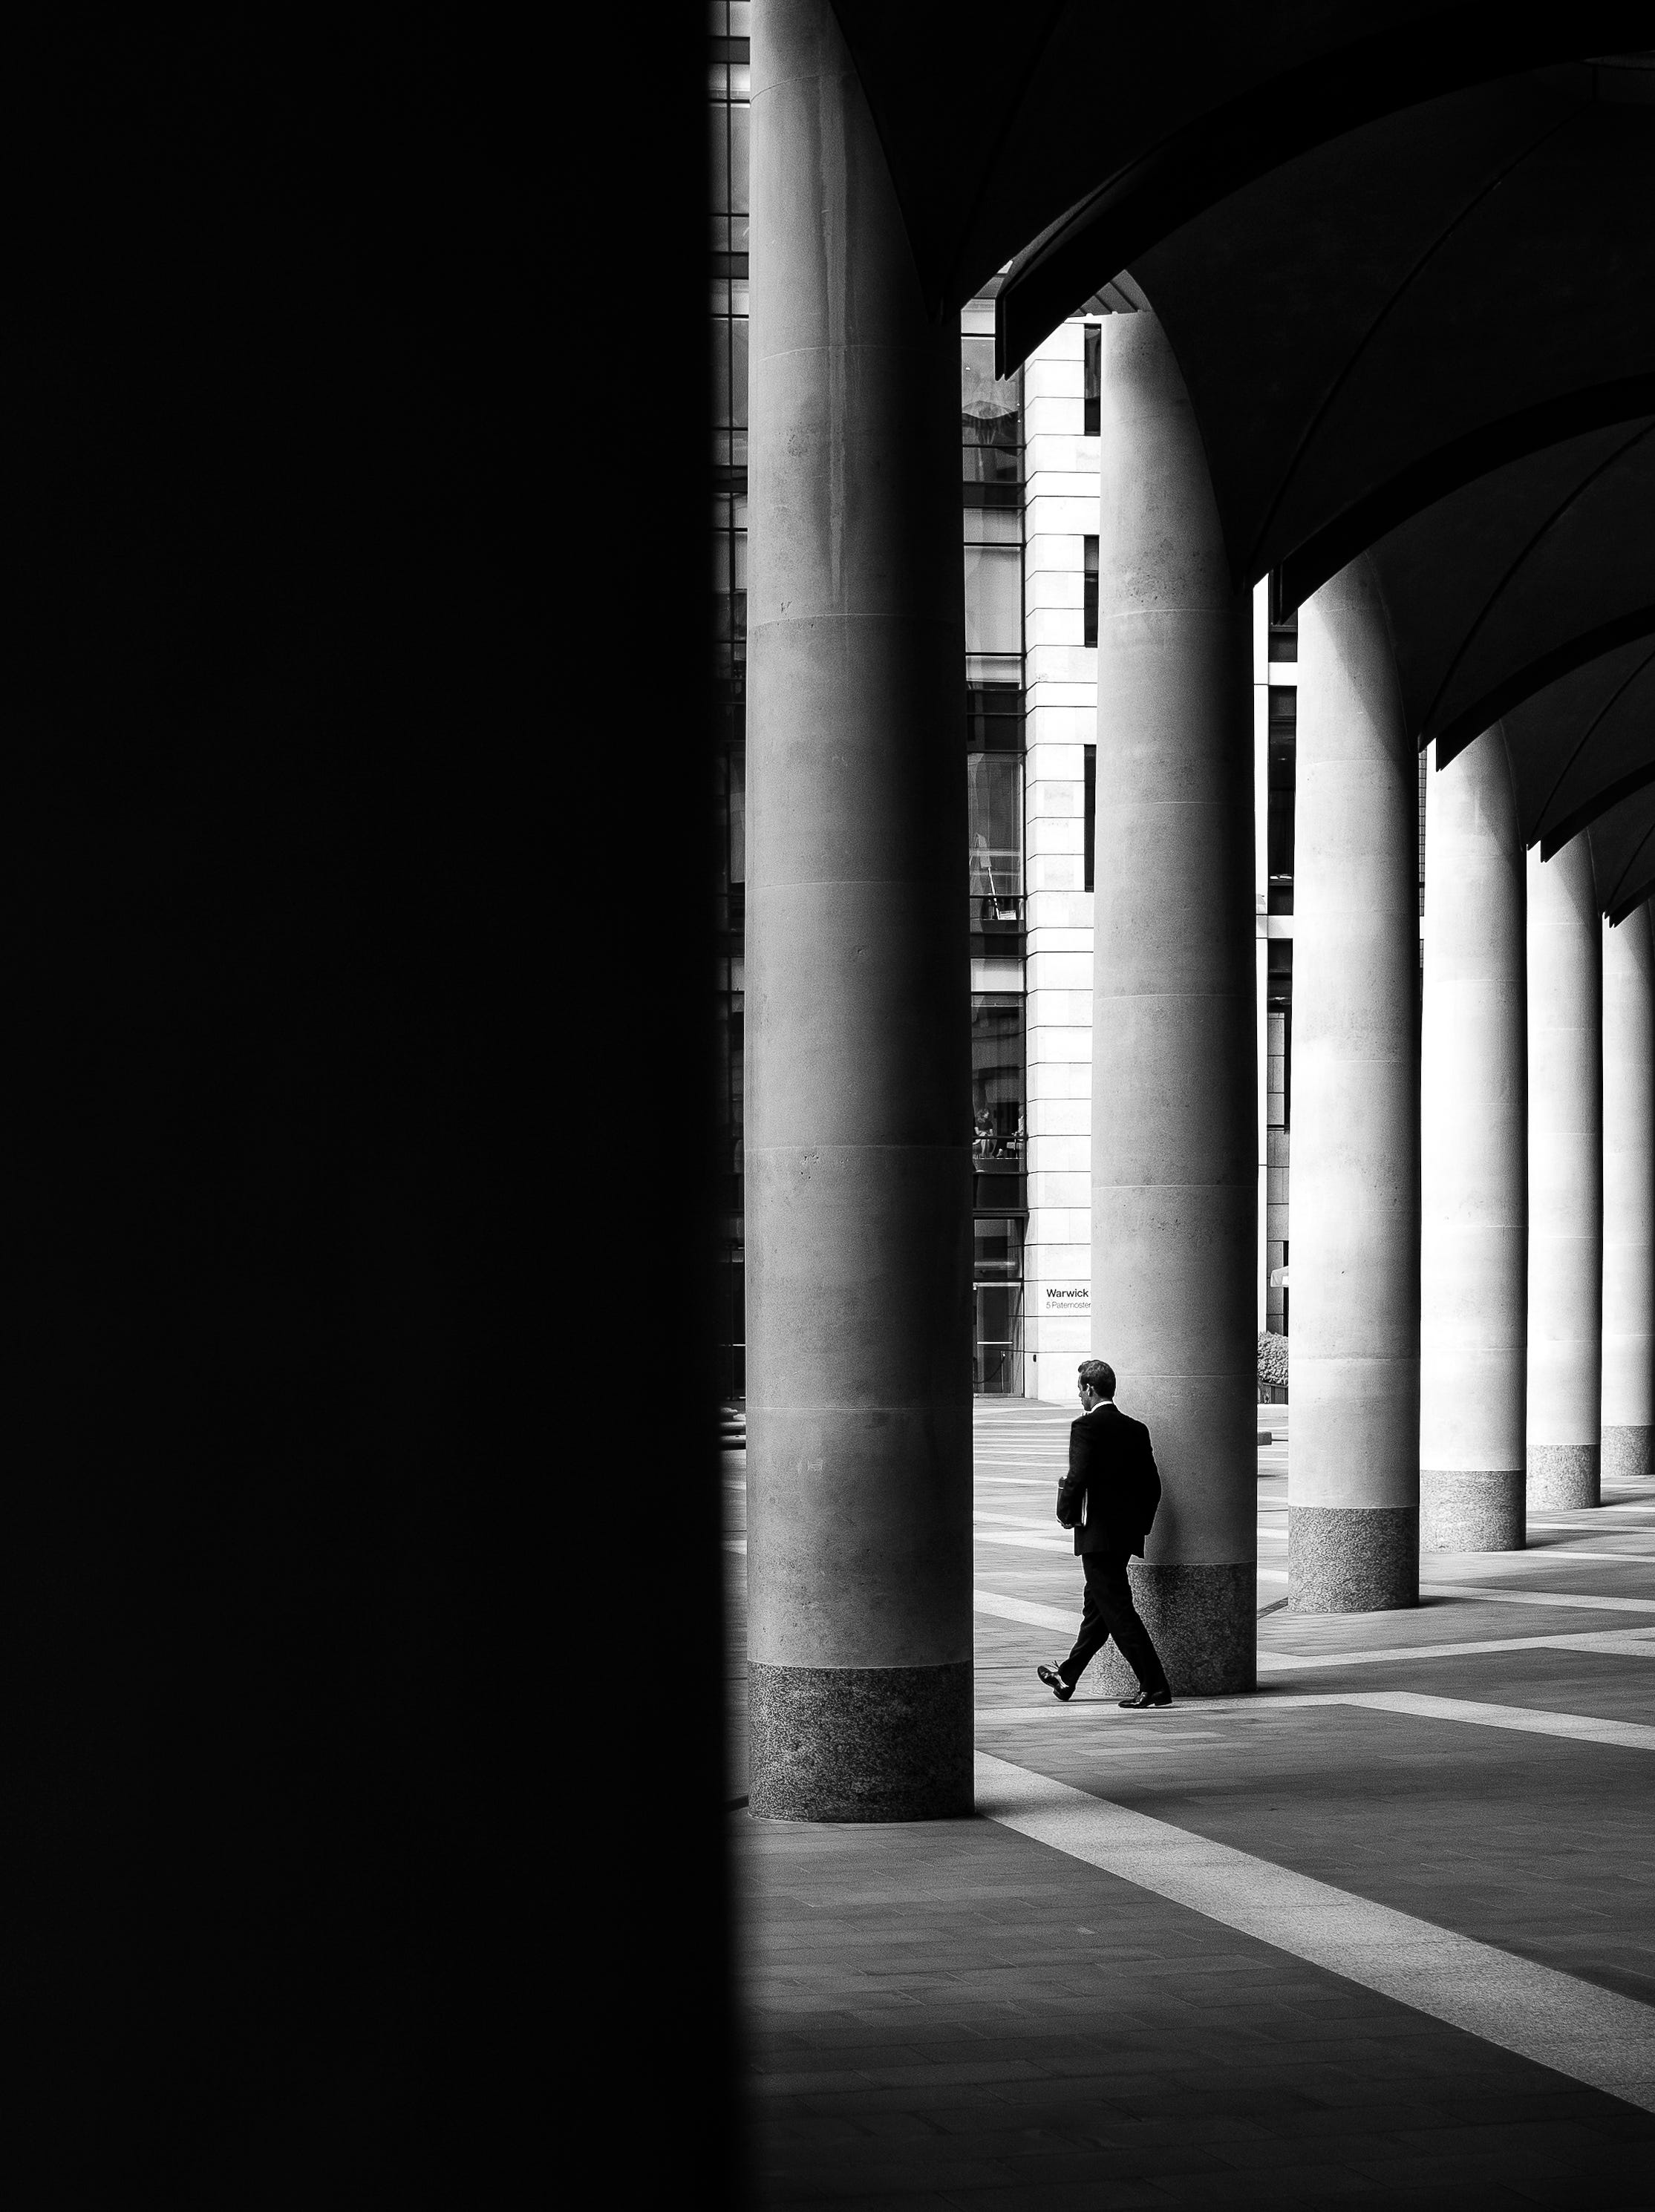
Use reflective surfaces
Reflective surfaces are not just great ways to bring life to your pictures when it's bright or wet but they can be used effectively in more dull and overcast conditions too. They will have a more subtle effect but can do wonders in helping to lift an image out of the doldrums.
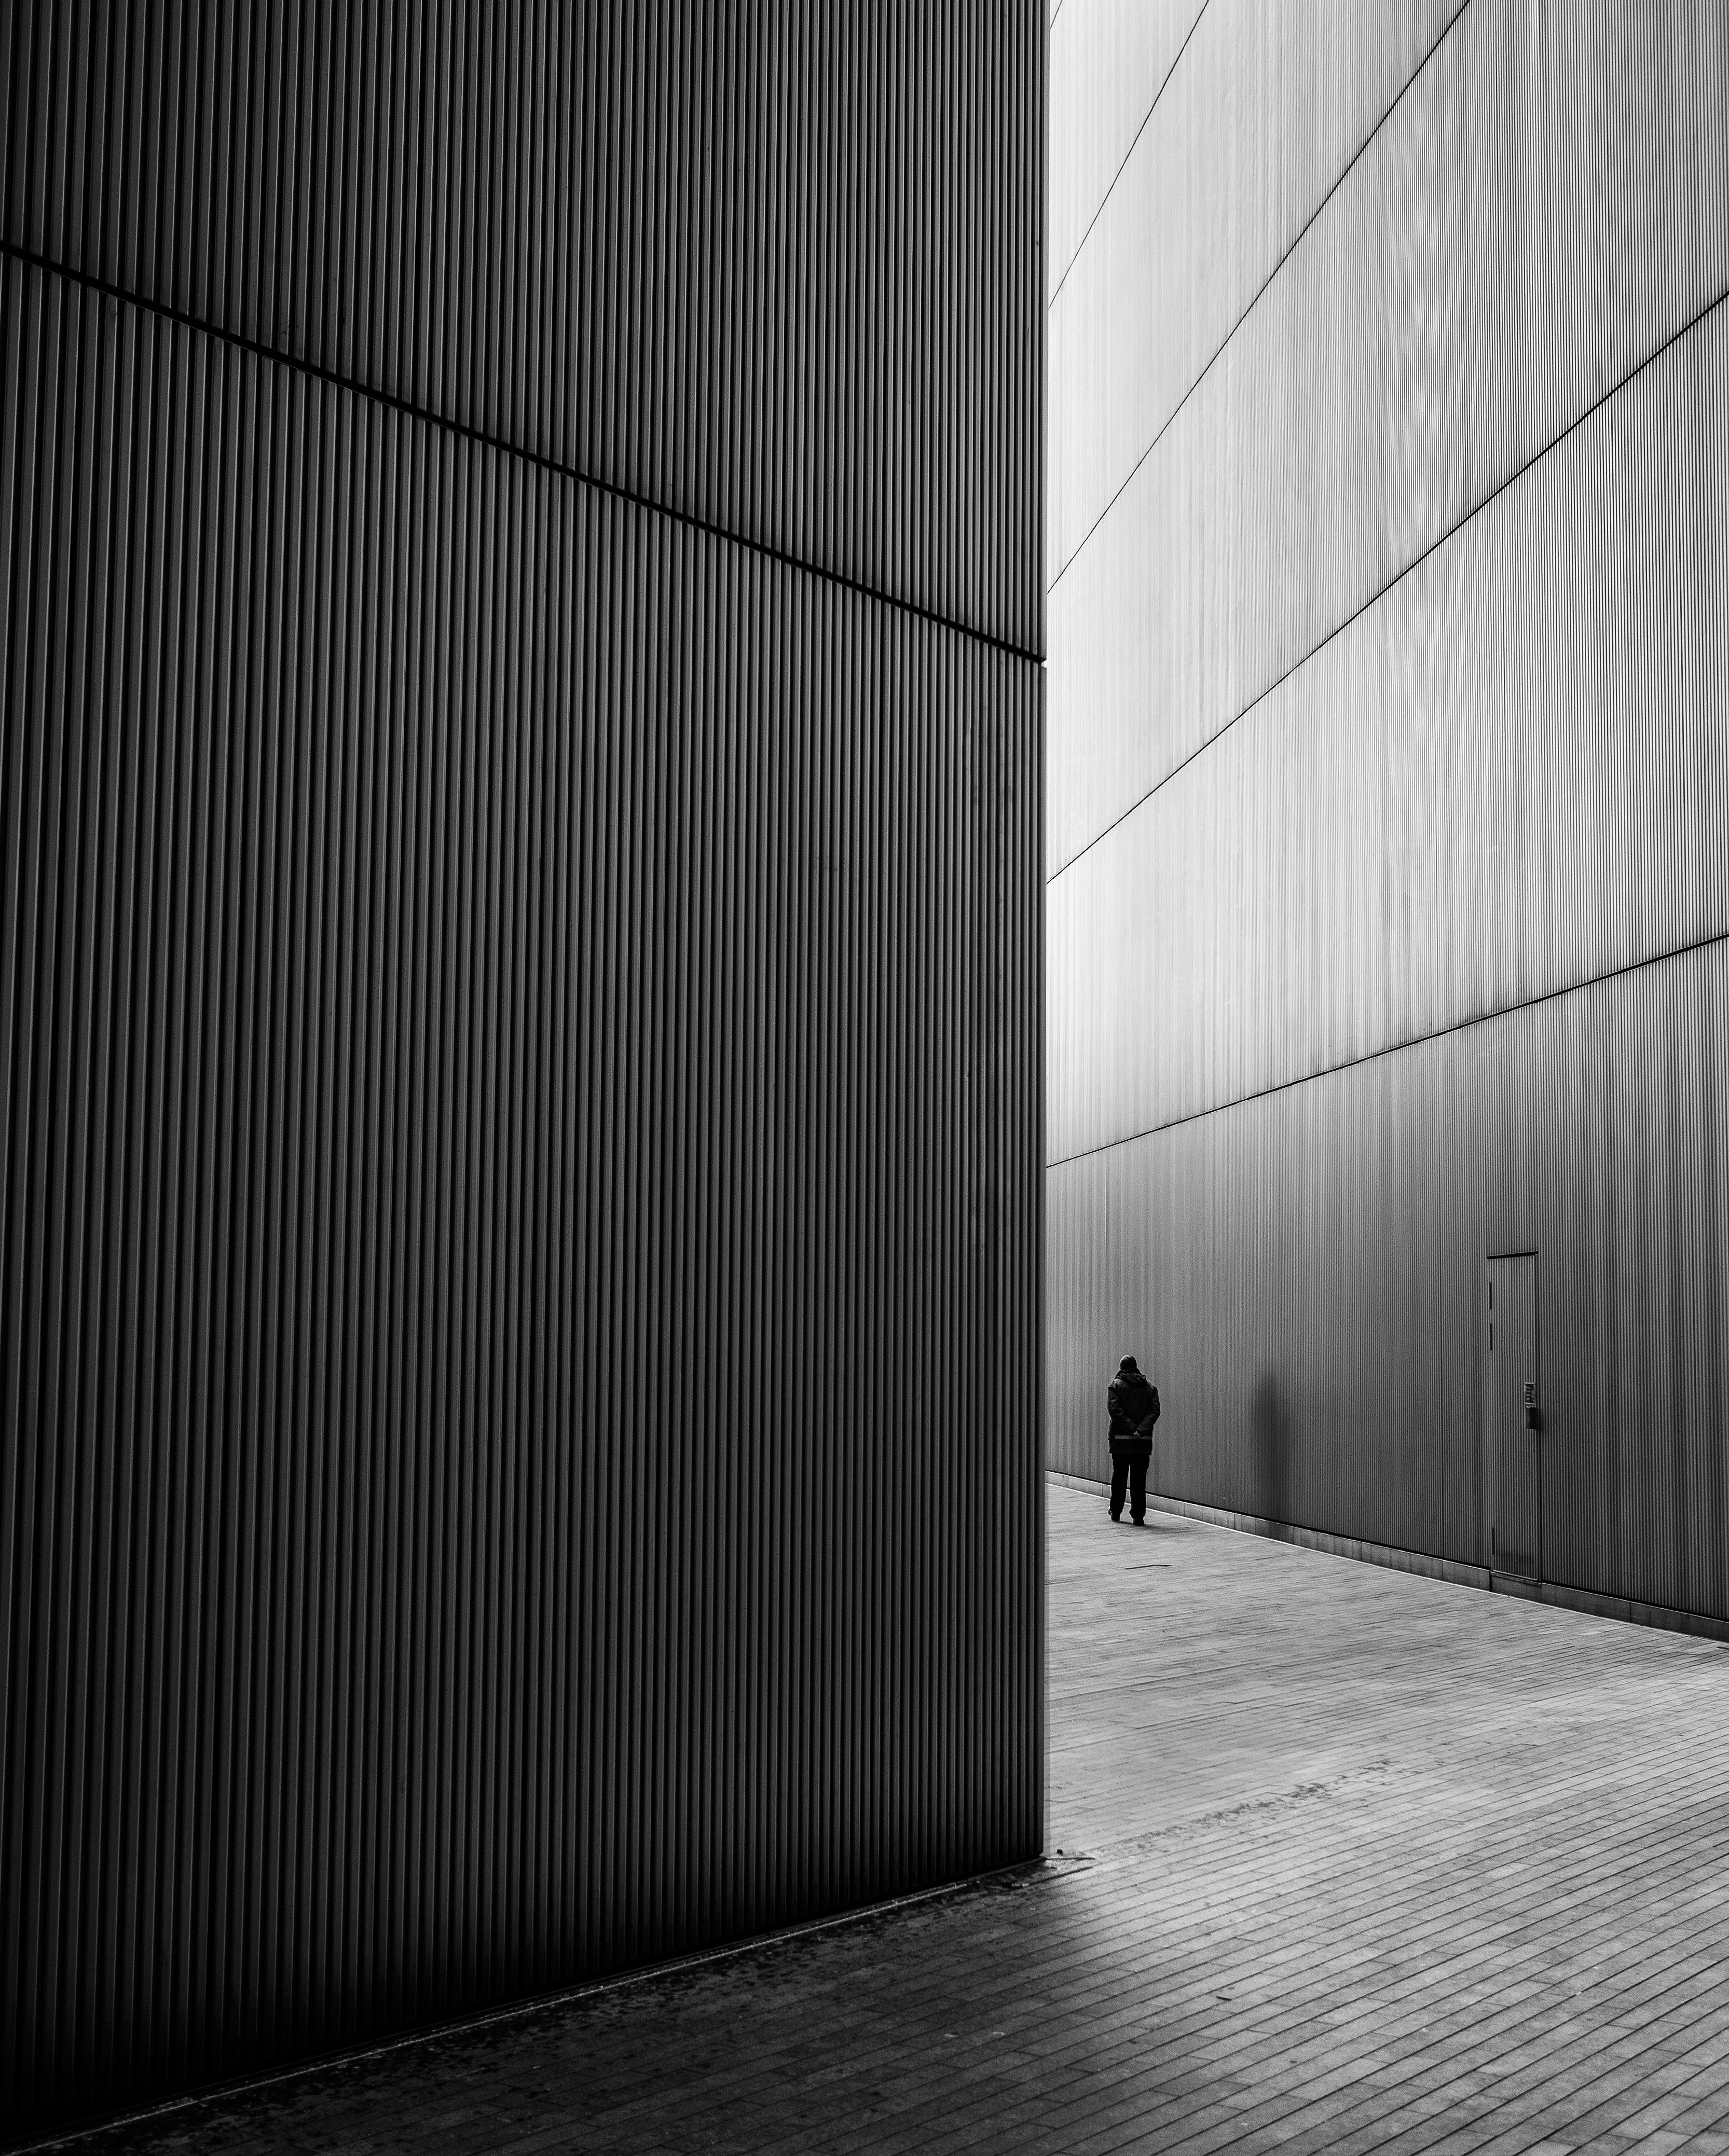
The light coming off the cladding of these buildings is enough to add a luminous quality to the otherwise rather dull atmosphere in the image above. It brings a little extra presence to the ground area and along with the structural lines, it helps lead our eyes to the unseen space that the figure is walking towards. Paradoxically, a stronger light on a much brighter day might be a bit too much and would definitely change the dynamic of the picture.
Shoot upwards

Shooting up towards the sky and allowing the light to dictate terms is another useful trick when looking to bring more brightness and contrast to your images on a lousy weather day. Generally, the sky will always have some brightness to it, even on a really dull day. You can try for silhouettes against the sky, whether from a low camera position or by just featuring objects in the lower part of the composition.
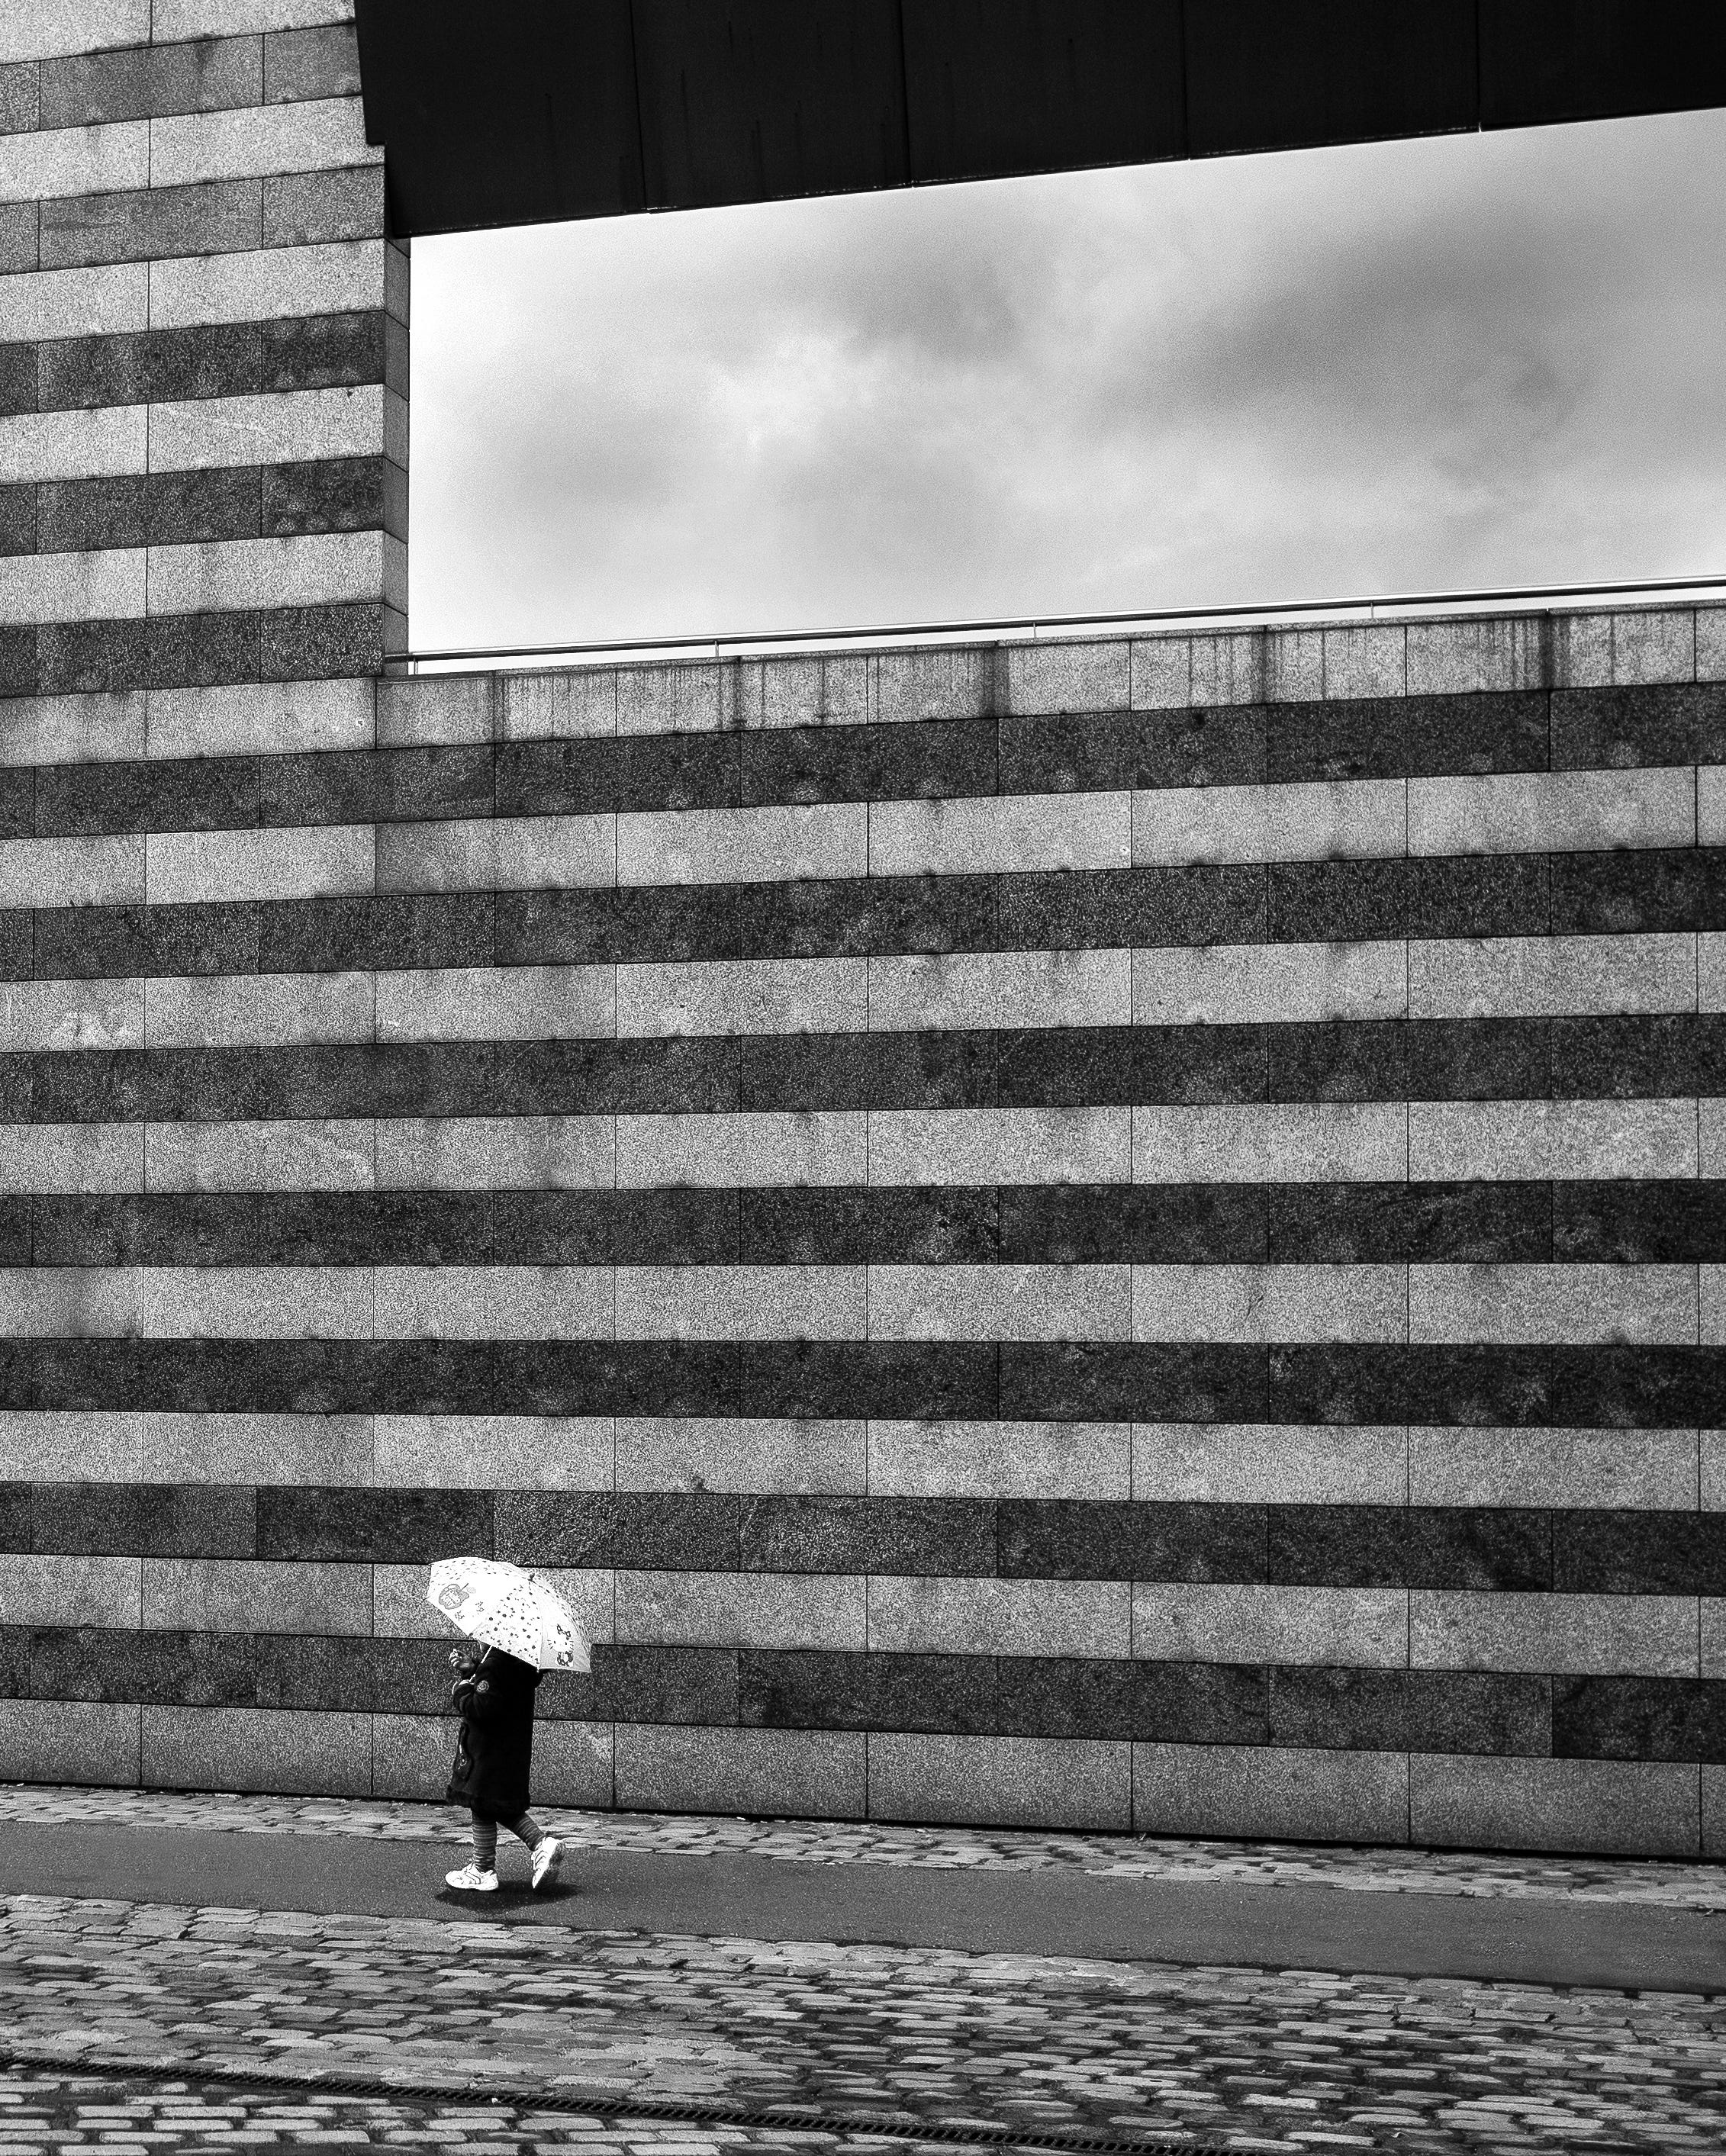
I like to include parts of the sky in graphic ways if I can, such as in this shot taken in Paris one dull day, where the sky appears in a window-like opening in a somewhat threatening kind of way, hovering over the young child and her umbrella. The child was accompanied by her mother who was walking ahead of her and I let her leave the frame before capturing.
Shooting on grey days and in low-light conditions forces us to think more creatively about our work and helps us to recognise opportunities that we might not have considered. By using the five points we've looked at here you can begin to build an array of techniques that can help come to your rescue.
Thanks for reading! If you enjoyed the article please give a like or post a comment.
Please consider subscribing monthly here at Substack or making a one-off
contribution via BuyMeACoffee.
You can also visit my website at rupertvandervell.co.uk where you will find details of
my books and my YouTube channel where I publish videos on all aspects of street photography.
Your support is much appreciated and helps to keep the content flowing!
Rupert, a very instructional piece, well written, with fine images, an enjoyable read!😀